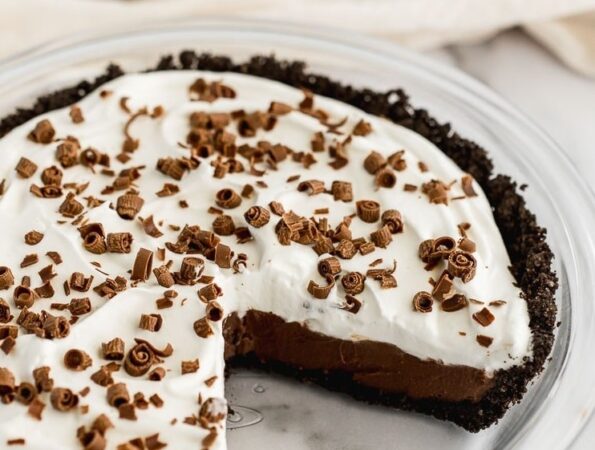
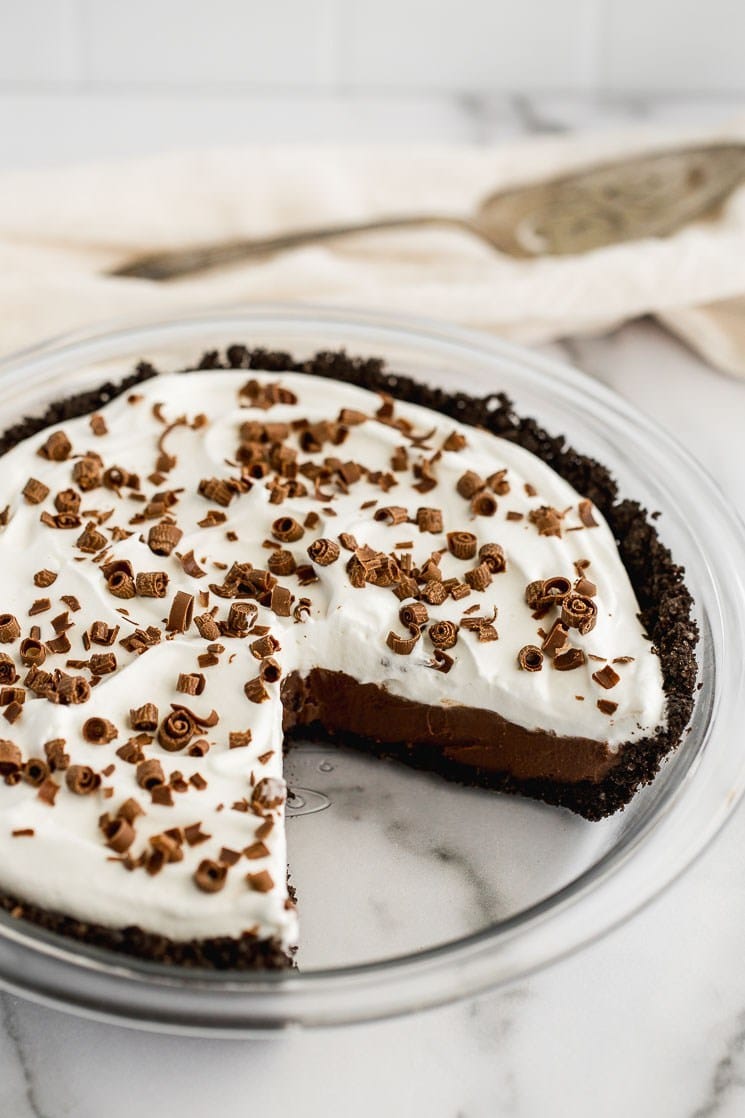
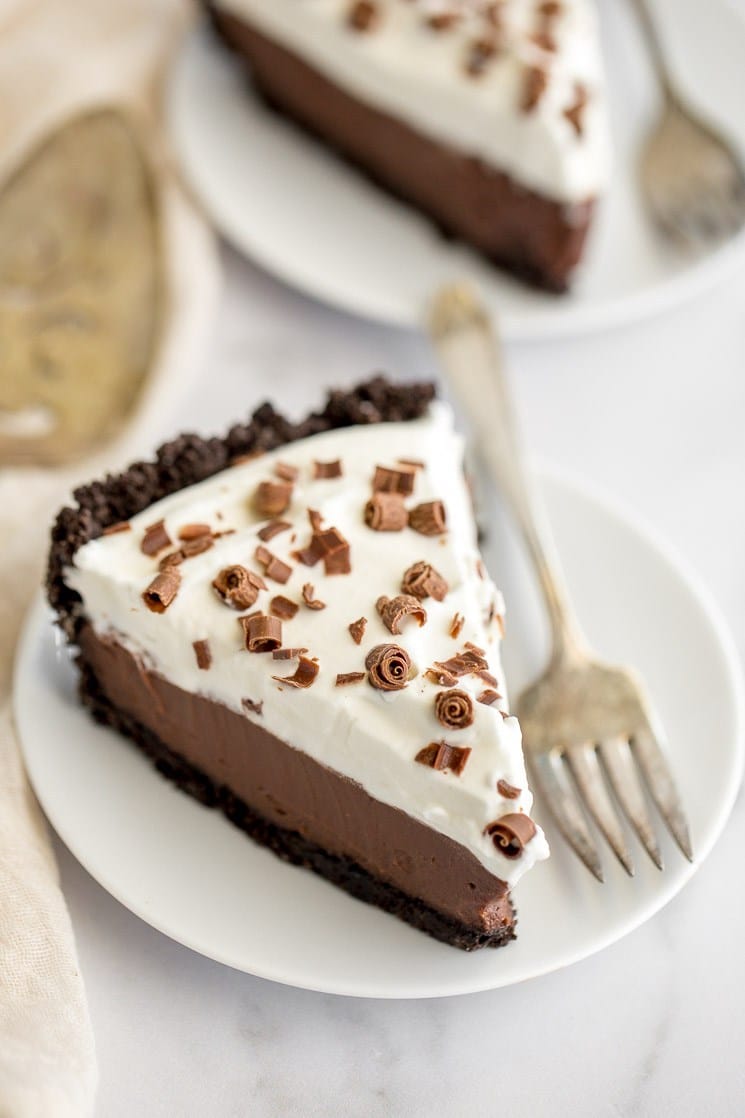
This Chocolate Cream Pie features a chocolate cookie crust, smooth and creamy chocolate filling, and homemade whipped cream on top. Also includes the option to use a regular pie crust!
- Medium
- 70 mins
- 8 servings

Ingredients
For the chocolate cookie crust:
- 24 chocolate sandwich cookies
- 4 tablespoons (60 grams) unsalted butter melted and slightly cooled
For the chocolate filling:
- 3 ounces semi-sweet chocolate finely chopped
- 1 tablespoon (15 grams) unsalted butter cubed into small pieces
- 3/4 cup (150 grams) granulated sugar
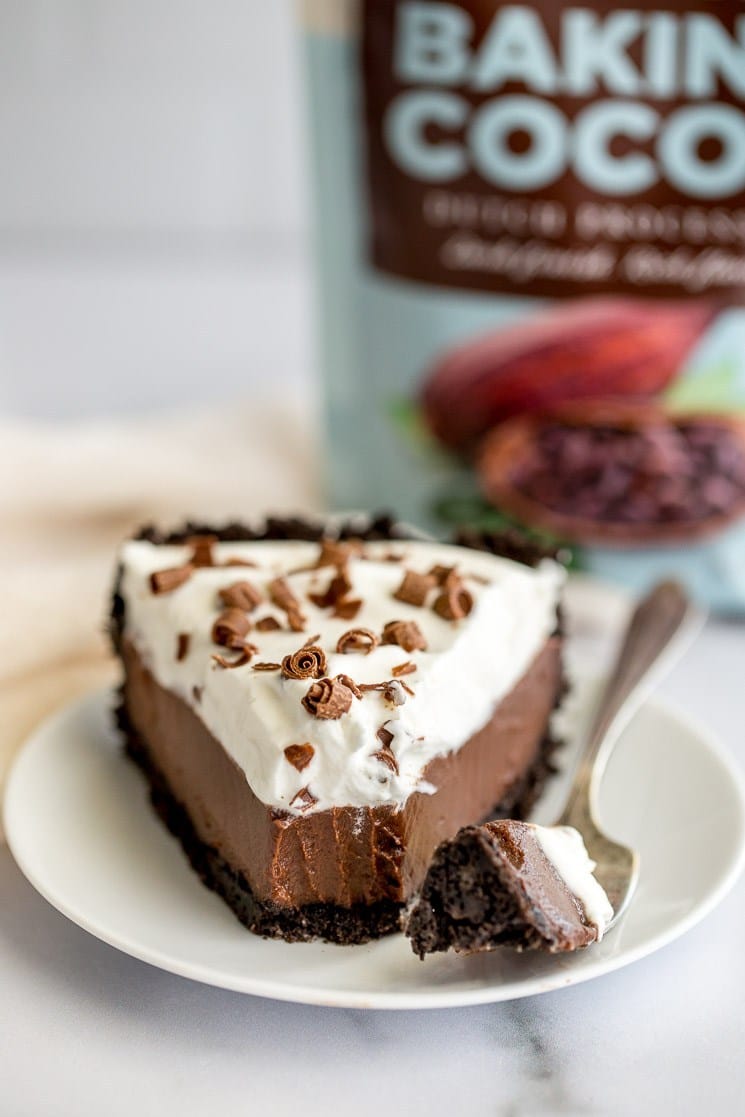
- 1/4 cup (25 grams) Rodelle Gourmet Baking Cocoa
- 1/4 cup (32 grams) cornstarch
- 1/2 teaspoon instant espresso powder or instant coffee granules optional
- 1 and 1/2 cups (360 ml) whole milk
- 1/2 cup (120 ml) heavy whipping cream
- 3 large egg yolks
- 1 teaspoon Rodelle Pure Vanilla Extract
For the homemade whipped cream:
- 1 cup (240 ml) cold heavy whipping cream
- 1/4 cup (30 grams) powdered sugar
- 1 teaspoon pure vanilla extract
Uses
Directions
To make the chocolate cookie crust:
- Preheat oven to 350°F (177°C). Add the chocolate sandwich cookies to a blender or food processor and process until you have fine crumbs. Scoop the crumbs into a mixing bowl and add the melted butter. Stir until all of the crumbs are moistened.
Scoop the mixture into a 9-inch pie plate. Firmly press it on the bottom and around the sides of the dish. - Bake at 350°F (177°C) for 10 minutes. Remove from the oven and set aside to cool completely.
To make the chocolate filling:
- Add the finely chopped chocolate and cubed butter to a large heat-safe bowl. Set aside.
- Sift the sugar, Rodelle Gourmet Baking Cocoa, cornstarch, and espresso powder into a large saucepan to remove any lumps, then whisk until well combined.
- In a separate mixing bowl, whisk together the whole milk, heavy whipping cream, and egg yolks until fully combined. Pour about 1/2 cup of the wet ingredients into the saucepan with the dry ingredients and whisk until well combined, then pour in the remaining wet ingredients and whisk until fully combined.
- Place the saucepan over medium heat, stirring continuously and scraping the bottom and sides of the pan often, until the mixture starts to thicken. Once the mixture thickens and comes to a boil, allow to boil for one minute, then remove it from the heat.
- Strain the filling through a fine mesh strainer into the bowl with the chopped chocolate and butter. Once strained, stir until the chocolate and butter are fully combined, then stir in the vanilla extract.
- Scoop the filling into the cooled pie crust and spread it around into one even layer. Place a piece of plastic wrap directly on the surface of the filling and allow to cool slightly for about 15 minutes at room temperature, then transfer to the refrigerator to chill for at least 3-4 hours.
To make the homemade whipped cream:
- In the bowl of a stand mixer fitted with the whisk attachment, or in a large mixing bowl using a handheld mixer, add the heavy whipping cream, powdered sugar, and vanilla extract. Mix on low speed, then increase to medium-high speed and continue mixing until stiff peaks form.
To assemble the pie:
- Remove the pie from the refrigerator and remove the plastic wrap on top of the filling. Scoop the whipped cream on top of the pie and spread it around into one even layer. Top with shaved chocolate or dust with more cocoa powder if desired, then refrigerate until ready to serve.
NOTES
- Chocolate cream pie may be covered and stored in the refrigerator for up to 4 days.
Chocolate Sandwich Cookies: You'll be using the whole cookie, no need to remove the filling. - Espresso Powder: This enhances the chocolate flavor, if you don't have any you can use instant coffee granules or omit it.
- Heavy Whipping Cream: Make sure that your heavy whipping cream for the whipped cream is cold. It's also best to use a cold mixing bowl and beaters to whip your cream. You can place the bowl and beaters it in the freezer for 5-10 minutes before making the whipped cream.
This recipe was prepared for Rodelle by @livewellbakeoften. Click here to see the original post with more pictures and helpful hints.